Top Advantages of Hiring Professional Construction Contractors for Successful Projects
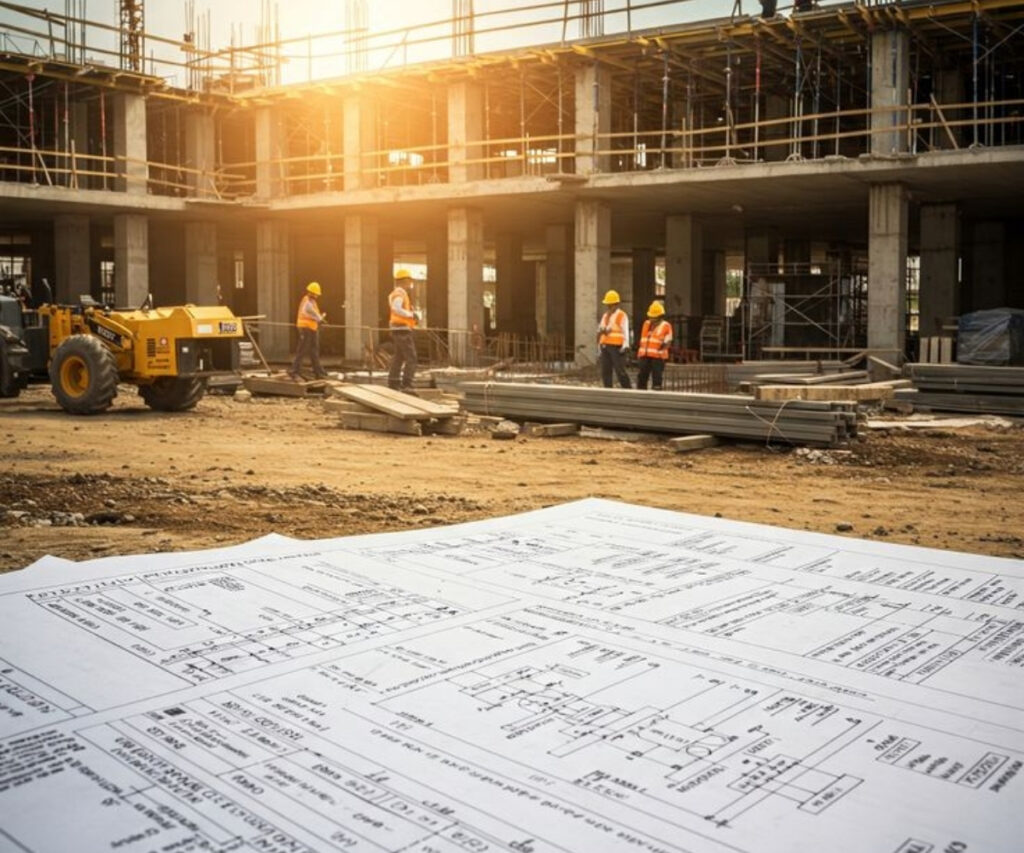
Top Benefits of Hiring Professional Construction Contractors Everyone dreams of owning a perfect home or launching a business from the ground up. However, realizing that dream requires more than just vision—it requires the right team. One of the most critical steps is hiring a professional and experienced construction contractor. Construction is a complex field that demands expertise, coordination, and access to resources. Hiring a professional contractor for your construction project is not just a smart decision—it’s a strategic one. Let’s explore the key advantages of choosing experienced contractors to manage your construction needs. 1. Industry Knowledge and Proven Experience Experienced contractors bring valuable skills and a deep understanding of the construction landscape. They’re well-versed in: Construction methods Material selection Safety protocols Local building codes and industry standards Their expertise ensures the project is handled with precision, from foundation to finish, while guiding you through every phase efficiently. 2. Effective Project Management Construction involves juggling several moving parts, including: Resource procurement Scheduling Budgeting Team coordination Professional contractors specialize in managing these aspects smoothly. They develop detailed project plans, track progress continuously, and resolve any issues quickly—reducing delays, miscommunication, and cost overruns. 3. Access to Skilled Tradespeople Construction requires input from multiple experts—plumbers, electricians, carpenters, masons, and more. Contractors usually have: A vetted network of skilled workers Long-standing relationships with subcontractors The ability to assemble a reliable team quickly This results in faster project execution with better workmanship. 4. Focus on Quality and Craftsmanship Reputation and results matter. Professional contractors: Prioritize high-quality materials Use advanced building techniques Implement strict quality control at every stage Their commitment to excellence ensures durability and long-term value for your property. 5. Regulatory Compliance and Legal Clarity Navigating permits, inspections, and building laws can be overwhelming. A seasoned contractor understands: Legal requirements Construction standards Safety and zoning regulations They’ll handle all paperwork and ensure compliance—saving you from potential fines and delays. 6. Clear Communication and Regular Updates When you hire a professional contractor, you gain a dedicated point of contact who provides: Regular updates on the project’s status Clear breakdowns of each milestone Transparency in costs and timelines This ongoing communication helps you stay informed and confident throughout the process. 7. Stress-Free Experience and Long-Term Support With professionals at the helm, you can: Focus on your vision Avoid micromanaging the process Trust that issues will be handled efficiently Many contractors also offer follow-up services and long-term support for maintenance or future upgrades. Conclusion Hiring a professional construction contractor offers numerous advantages—from expert guidance and quality execution to peace of mind. Their hands-on experience, technical knowledge, and dedication to excellence make them valuable partners for any building project. Whether you’re planning a small remodel or a large-scale development, choosing the right contractor can make all the difference in turning your dream into reality.